Sunday, November 20, 2011

Eggs, Darkrooms, Crayons and Craziness

This week has been one of those "Let's try every process under the sun" kind of weeks. Monday was egg albumen, Tuesday was negative diazo, Wednesday was Dolphin litho transfer paper, Thursday was crayon making, and Friday was caran d'ache. Friday was a short day and we took a trip to Rodney's house for dinner and a chance to relax.

So... Monday! Both egg albumen and negative diazo are negative printing techniques where a negative is exposed over an emulsion base. The negative is then exposed to light and any area not covered become black. Egg albumen utilizes strained egg whites mixed with ammonium dichromate and coated on a stone as a base. Exposure can be done either out in the sunlight (for approximately 1 minute) or under a grow light (pictured) for anywhere from 10-15 minutes depending on the temperature, the thickness of the negative being exposed, the thickness of the egg coating, the strength of the bulb, etc. etc. Basically, there's a lot of variables to consider, and the failure rate is... above average.

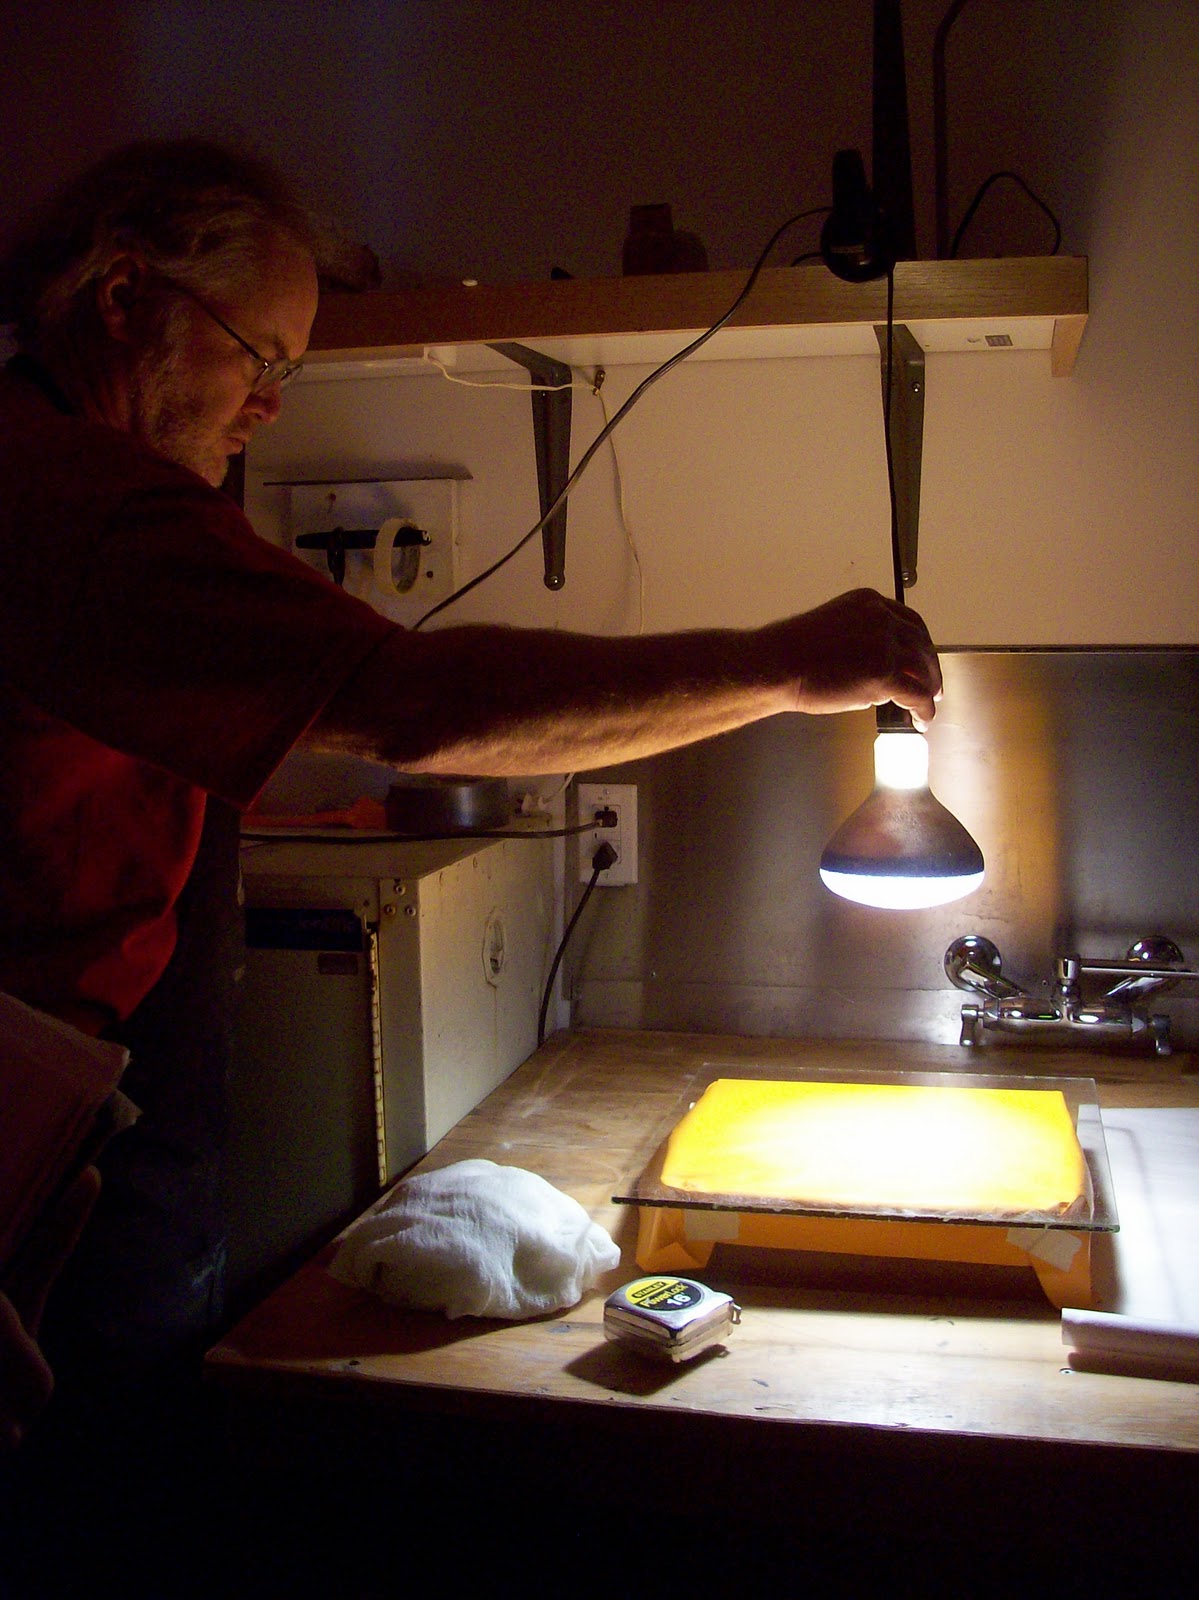
My first attempt failed.  I had used two negatives and aligned them to make the toner thick enough and I think the tape at the sides made the negatives buckle, hence the dark/burned spots in the image. Luckily, the egg comes off easily, so back to the graining sink and time to try again. Luckily attempt number two was a success.

 Attempt 1= Boo.

Attempt 2= Hooray!

Negative diazo was similar in theory to egg albumen. Diazo coats a plate, a negative is exposed to light, and turns white areas black. The result was a nicer resolution than egg albumen, but sadly the materials are no longer available.

Rodney with the diazo on the plate (left) and the egg albumen on the stone (right).

My classmate Richard's diazo plate.

Wednesday brought with it Dolphin litho transfer paper. Transfer paper was originally used in the early days for en plein air drawings. An artist could easily transport a sheet of transfer paper, do a sketch on site, and return to the studio to transfer the image to a stone. Because there is a loss of detail from the transfer paper to the printing matrix (plate or stone) it often has to be reworked or added to. Transfer paper has a type of emulsion on the surface of the paper that, when dampened becomes tacky and releases, kind of like a temporary tattoo. The emulsion dries for a few minutes after transfer and then is gently wiped away, leaving only the drawing material. 


Rodney with his awesome transfer of Santa Claus and Mr. Potato Head riding a convertible in the forest. :) 

The start of my own drawing on transfer paper.

Everything was going smoothly until I decided to try a gum stop out over my crayon drawing to protect against solvent washes- I didn't want the washes to bleed into the crayon.  Unfortunately when I transferred the paper to my stone the gum lifted out all the crayon it had been protecting and left me with a big ol' splotchy mess. A little counteretching and subsequent crayon work and I had a useable image again.

The transfer on the stone after reworking.
Undoubtedly the highlight of demo week was crayon making. Fumes, chemicals and fire filled the air as we melted together ingredients to make our own crayons. A local artist also lent us his crayon molds, so the final product looked incredibly legitimate too. 

Rodney mixing together the ingredients. 
Richard brought in a bag of old crayons to melt down as well.
Pouring the concoction into the molds.

Finally Friday and a demo on caran d'ache. Caran d'ache is a method where a water soluble substance is drawn onto a plate or stone, asphaltum is buffed in, and water lifts up the drawing material, leaving wherever you've drawn white, while the rest rolls up black. However, the demo didn't go according to plan. Early in the semester I had a strange plate that developed "frog skin" for no apparent reason. That is, the plate speckled, and speckled bad. I ran my edition and pawned off the rest of the unused plate on Rodney so he could use it for demos. 

He used it for this demo. 

It didn't work.  

We all had what Rodney referred to as "Leavingitis" and decided it was a bad idea to do a demo when we were heading to his house so soon, instead we abandoned caran d'ache for spaghetti and meatballs.

Sunday, November 13, 2011

Tamarind

Why, hello again. For the last few months I've been trying to decide how and when to get back into updating this blog. Today, I feel, things have come full circle since my last post and it's time to brush off the cobwebs and start again.

A lot has happened over the last few months, almost all of it for the good. I finished my applications to graduate schools, got accepted to a few, and made my decision when I received my acceptance letter to the Tamarind Institute in Albuquerque, NM to participate in their printer training program (PTP).

For the past 50 years Tamarind has been at the forefront in reviving the art of lithography in the United States. Prior to Tamarind, lithographs produced in the states were basic, black and white lithographs created by a select few printers. Artists hoping to make anything of real quality, or involving color needed to travel to Europe. Founder June Wayne realized the need for a program like Tamarind that would train master printers to work in the US, and to restore the prestige of the medium. With funding help from the Ford Foundation June founded Tamarind Lithography Workshop in Los Angeles, and 10 years later affiliated with the University of New Mexico where it became the Tamarind Institute. This is the bare basics of the history of Tamarind, their website has a bit more on the subject and a link to a fantastic article by Clinton Adams where he writes about the early years of Tamarind.

Today Tamarind invites eight students a year from around the world to participate in the PTP. These eight students go through the year long program, with the first semester dedicated to improving technical skills, and the second semester dedicated to working collaboratively with graduate students from the University of New Mexico. After the year long program one or two students of the original eight are selected to participate in the Master Training Program for another year, after which they are certified as Master Printers. Many of the lithography workshops around the USA, and several around the world are operated by Tamarind Master Printers.


To be part of such an amazing and prestigious program still leaves me speechless.


For the past 12 weeks I have lived lithography. The days are long, have their ups and downs, successes and failures, but when all is said and done there's nothing else I'd rather be doing. The first few weeks were spent doing technical tests: crayon drawings on stone and plate, tusche washes (both with water and solvent) on stone and plate, counter-etching, flats, toner, etc. etc. To go into detail on all of these would- 1. Take forever and 2. Be redundant, as my classmate Richard has already done a fantastic job, and I'll just link you to his blog- the aptly named School of Flat Rocks. :)

Around week 7 things got really interesting. The technical tests behind us, we began working on putting them to use, and working collaboratively with other PTP students, first in black and white, and then in color. We then moved to large format prints, and Rodney (my instructor, and the education director) taught us the professional way to do a blend roll. A -huge- blend roll at that. Next came some less traditional techniques including maniere noir, acid tinting and chine colle. I was especially excited about maniere noir because it allowed me to try another stone using Michael Barnes's method of asphaltum reduction, which none of my fellow students had seen before.


For this stone I wanted to try a few of the techniques Barnes had mentioned, but I hadn't attempted before, such as painting in asphaltum additively, and leaving gum on the stone to produce a "crackle" effect, which I used for the background. 

Even though I would be printing this in black, I still found it much easier to scratch through the asphaltum base versus black ink (which tended to clog up) or a tint field (which proved difficult to etch without burning). Printing this stone went infinitely better than the last time. Some of the extremely delicate marks filled in, but overall printing was a breeze and I was extremely happy with the results.

The prints laid out (the last print pulled on the left, the standard on which all the prints pulled are compared in the center, and the first trial proof on the right).